
 The Part 1 [STM32F3Discovery: ARM GCC Environment on Windows], I wrote last month and I was supposed to post this a few days after but I got mixed up in more work than I could handle, but luck favours the lazy [sometimes] and while I was stuck in work and stuff, Hackaday.com posted about a GitHub repo which is just what is needed to compile code for the STM32F3Discovery board on windows (or on linux etc for that matter).
Supposing you followed the last post, you will get response of these commands on command line:
arm-none-eabi-gcc [ENTER]RESULT arm-none-eabi-gcc: fatal error: no input files compilation terminated.
make [ENTER]RESULT make: *** No targets specified and no makefile found. Stop.
Now go here and download zipped copy this repository, there is a ZIP button;
https://github.com/mblythe86/stm32f3-discovery-basic-template.git
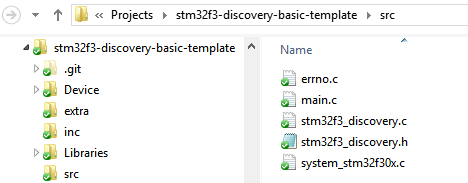
Extract the zip and open it in explorer, there is a main.c file in the src folder. This file contains the main function which will run on the STM32F3Discovery board.

The main.c file is quite well-commented and contains code to blink the on-board 8 LEDs. I am not going to provide a detailed explanation of the file here or the other files; they all have proper descriptions etc so read through them if you want to. For now, to compile the code, open Command Prompt and move to the directory of the extracted folder stm32f3-discovery-basic-template folder or if you have renamed it, I renamed it to blinky.
Type in command prompt: make and it should compile and show something like this:
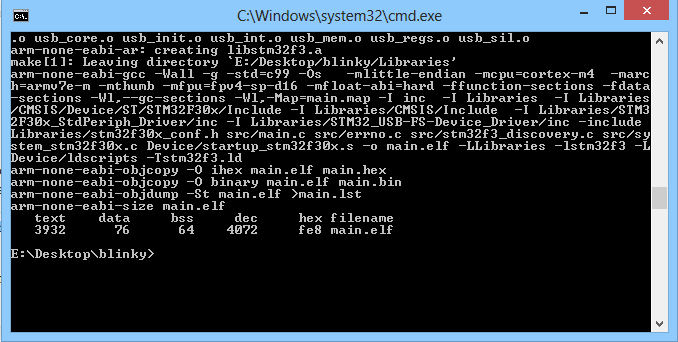
Now that you have a hex file, you can transfer it to the STM32F3 board by using STM32 ST-Link Utility from ST, download from here: http://www.st.com/internet/evalboard/product/251168.jsp, under the Design Support Tab you will find the utility download and also its driver etc. BTW, you should already have it installed if you followed all steps of Part-1.
The ST-Link Utility is straightforward, you open the hex file compiled earlier and then upload it to the STM32F3 board – happy blinky..!