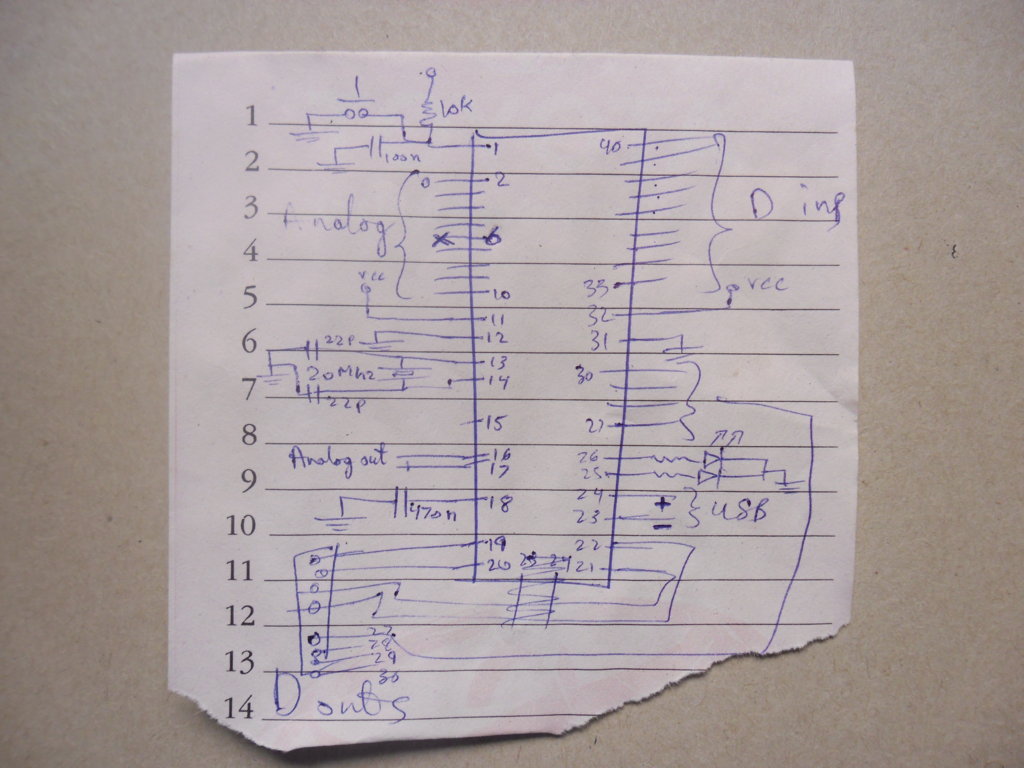
The below images will show how I start and end when making a circuit on vero-board, this is the process which I follow most of the time.
- Visualize the Circuit: Having a diagram handy comes a long way for quick reference, it doesn’t need to be very professionally drawn or accurate, just good enough to seem legit. [dual-troll-pun]

- Gather Components: before starting to solder anything, make sure that all circuit components are readily available so that there are no breaks in the process (when doing the soldering).

- Mark Places: Everythign should have a place from the start so that you don’t end up using MORE board space or worse having less-space than required.

- Put in the VCC and GND Lines: Plan out the wiring lanes for GND and VCC of the circuit, trying to give multiple paths for GND and rounding the VCC in loop, so the VCC wire ends where it started (giving a sort of 2 paths to the current), same for the GND. Also, I use a single long wrapping wire, the insulation is removed during the soldering process.

- Start with Small Components: Smaller components like filter capacitors etc and other things are the first ones on the board, cramping them in as little places as I can.

- Putting Everythign Else: The other BIGGER things are next in line to be put on the board, one final check is done to make sure nothing is comign in way of anything else.

- Solder it all Up: Heat the iron up and start the work, add in connecting wires where needed, make as small connections as possible, straight ones are better then loose curled ones, use the extra/un-used holes in the vero-board as turning points

- Check and Test: Use a multimeter to check for shorts, loose connections etc before turning on the power.

Now if I can just find the controller to put in the circuit and I will be good to go.
